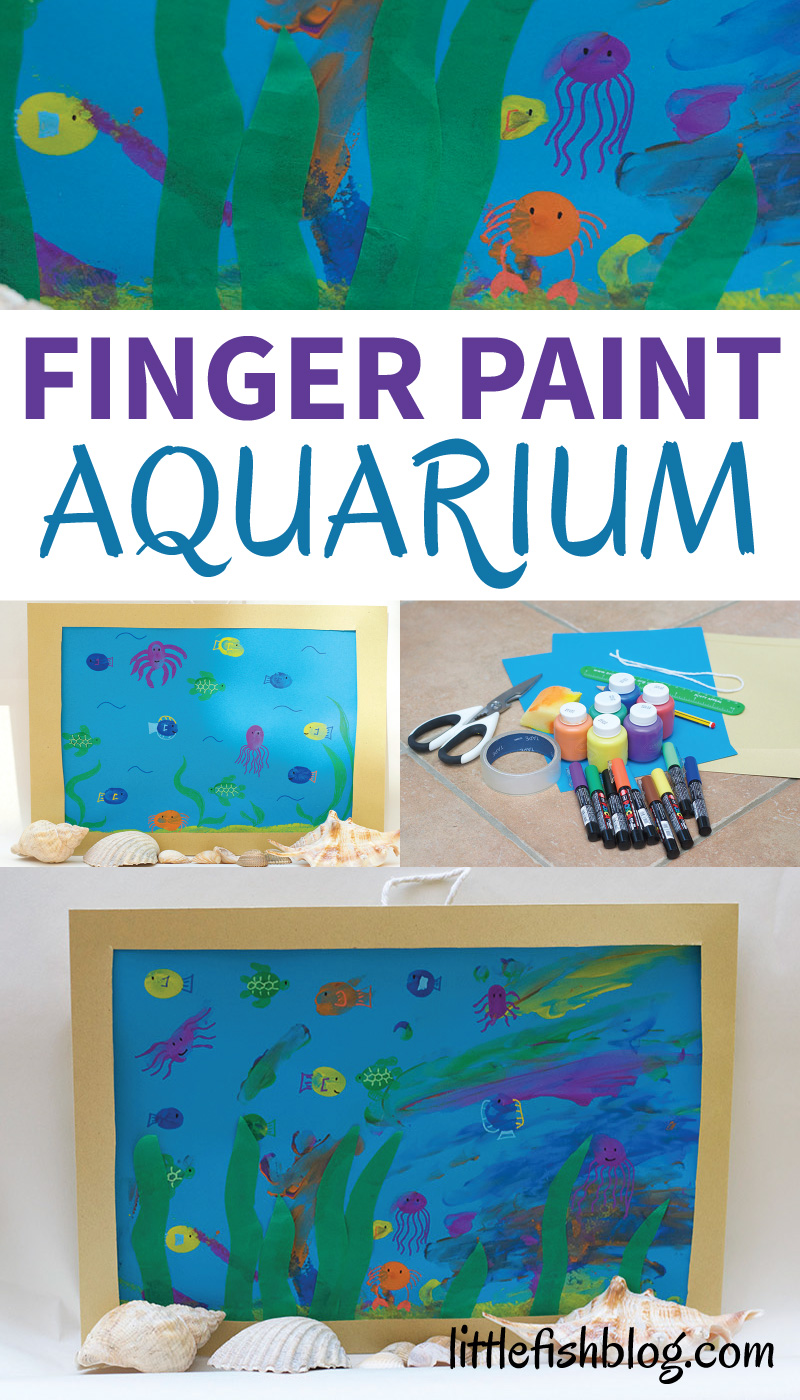
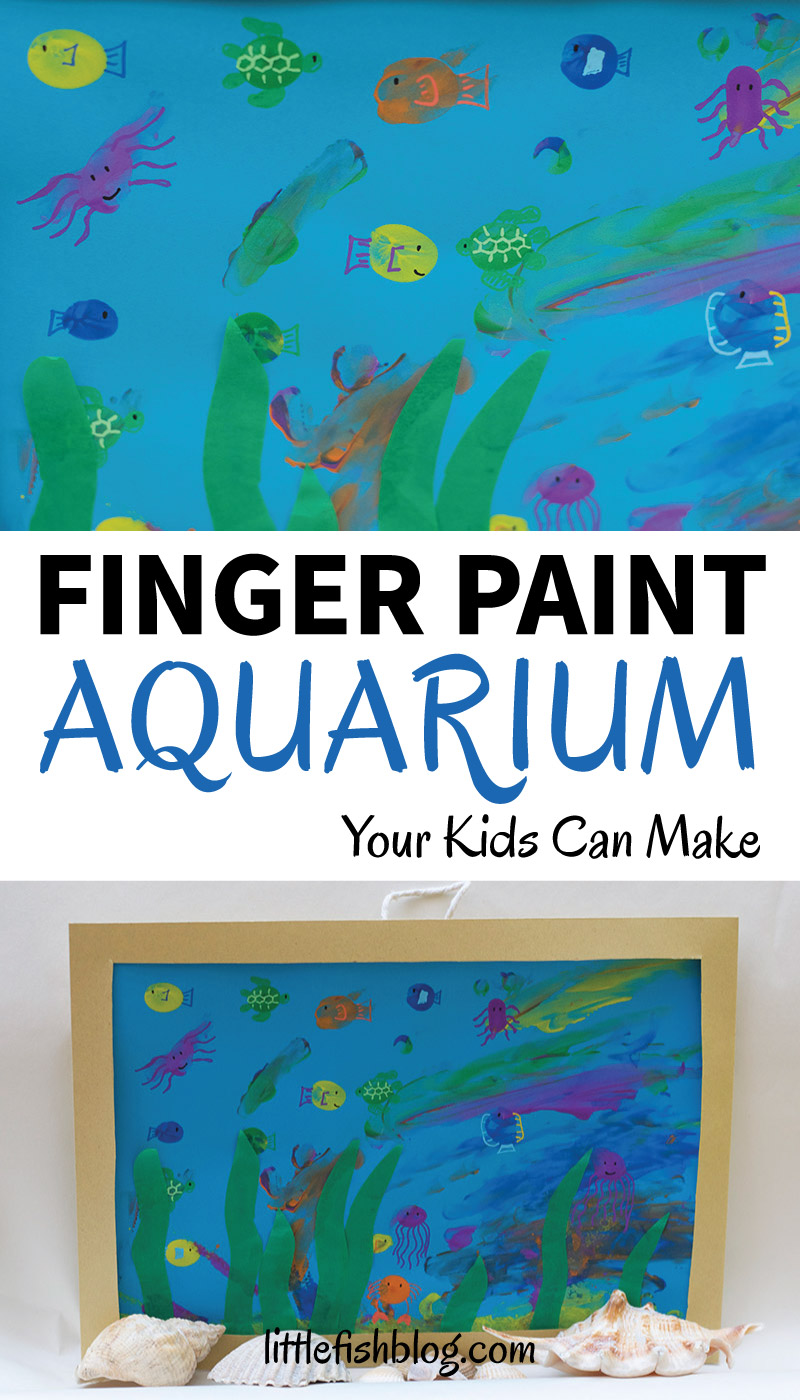
I’ve got the sweetest and easiest ocean themed art activity for you today! This fun finger paint aquarium activity is super creative and fun!
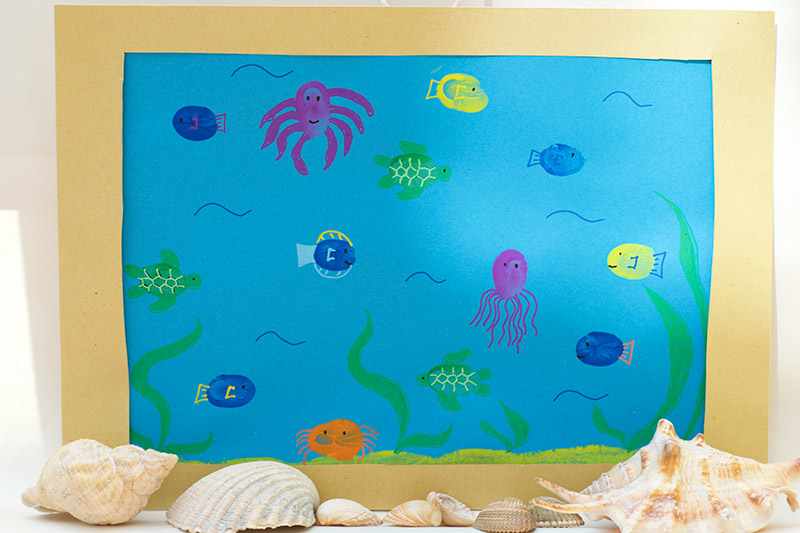
We love visiting aquariums and finding out about the fish and animals that live in the ocean. I get nostalgic when I think about aquariums, as I used to work in an aquarium and present the dive shows!
It’s so important to learn about what we can all do to protect our oceans. Aquariums are also such magical places and can spark imaginations big and small.
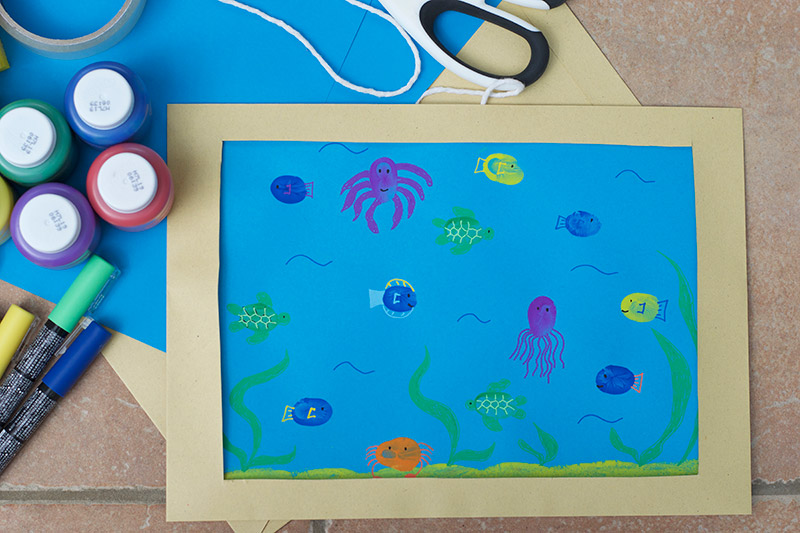
I have a bit of a thing for finger painting too! So this activity combines two of my favourite things. Finger painting is just so easy and simple – you don’t need any special equipment. Just some paint, paper or card and your fingers! Little ones of all ages love finger painting!
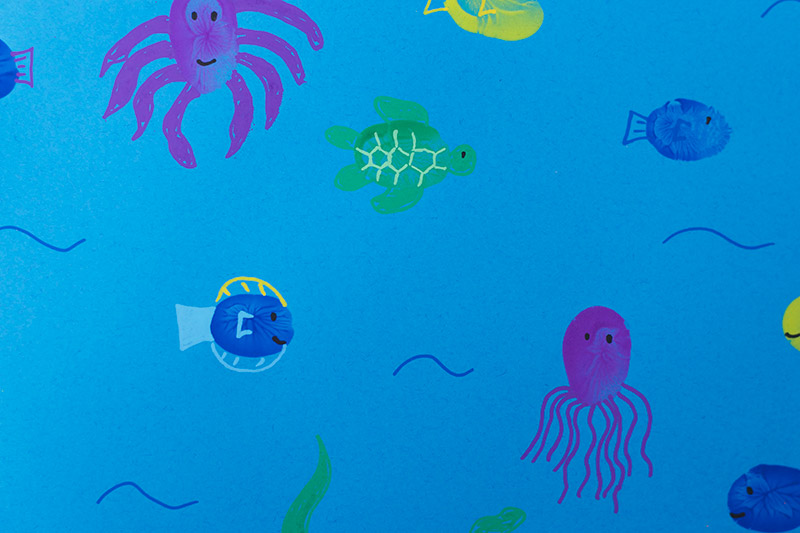
Older kids, around 5 and up, will love making their finger painting into little ocean creatures and getting creative with their designs.
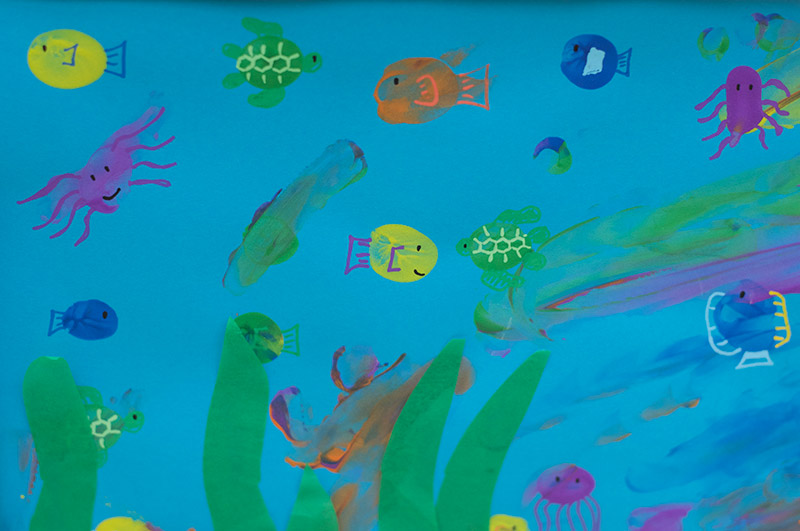
Toddlers and pre-schoolers will love joining in with the finger painting too. Let them go wild! If they want to swirl and mix the paint, this will make great looking water!
Disclosure: This is a sponsored post by The Works. All ideas and suggestions are honest and all my own – as always.
This activity is really good for stimulating children’s creativity and imaginations. If you like you can make it into a mixed media piece. Add some plants and rocks made from tissue or coloured paper, or add other collage bits you might have.
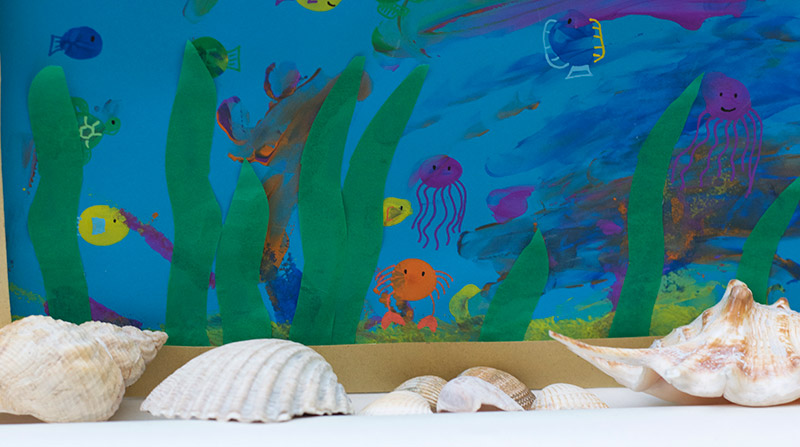
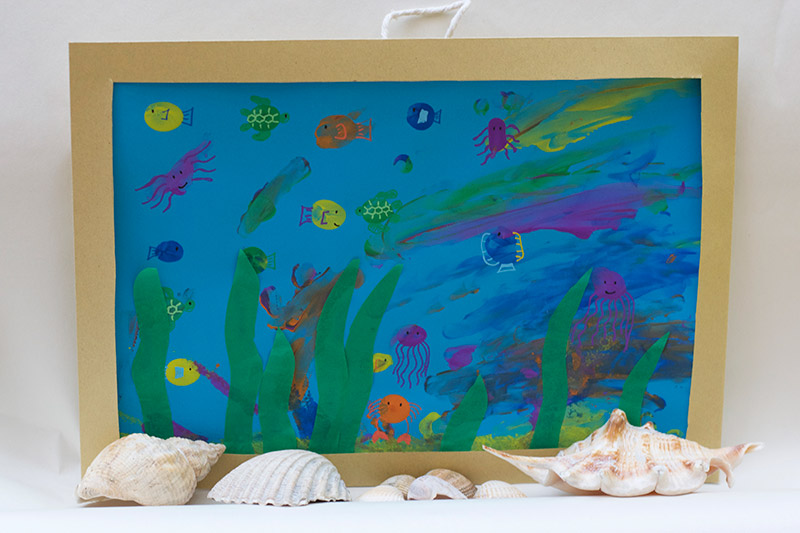
You can make this art project into a sweet keepsake, card or gift. Put the finished art piece into a quick and easy homemade aquarium frame.
Let’s get started!
Fun Finger Paint Aquarium Activity
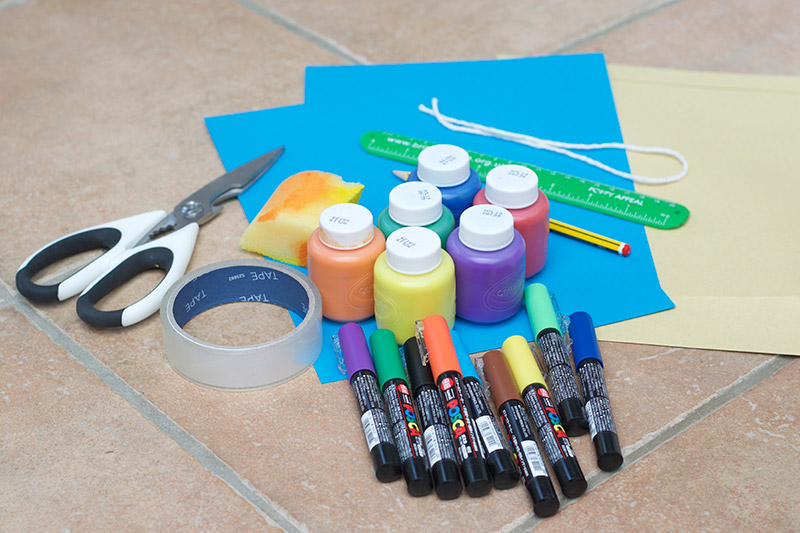
You’ll need:
- Water based paint – mixture of colours
- Blue card – A4 or US letter zize
- Paint pens or felt pens
- Paper plate or paint palette
- Overalls
- Kitchen towel, or piece of rag
- Sponge (optional)
- Tissue paper or coloured paper and glue (optional)
For the frame:
- Large envelope: A4 or US letter size
- Pencil
- Ruler
- Scissors
- Tape
- String – small piece
If you’re in the UK, The Works has some fantastic art and craft supplies for kids, fab if you’re on a budget too. There’s some great price drops at the moment, so a perfect excuse to get crafty!
Before you start painting you could look some books and pictures of sea creatures together to get some inspiration. You might like to look at some of our favourite ocean themed picture books. Talk about what type of fish and other creatures you can find in the ocean.
Which might you see in an aquarium?
Then it’s time to start painting!
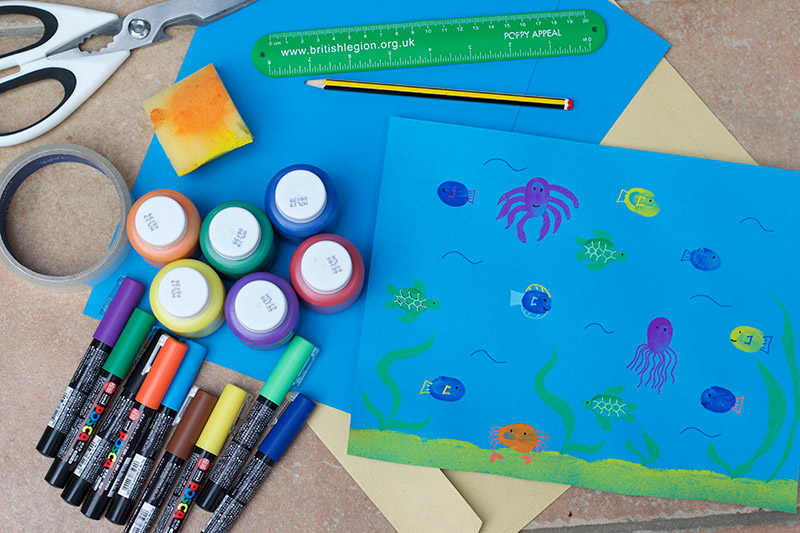
Put a variety of coloured paints on a paper plate or paint palette.
Start finger painting! Print individual finger prints over the card. Dab any excess paint onto a piece of kitchen towel or a piece of rag before each print. Of course if you prefer you can use a sponge or brush, instead of fingers. Anything goes here!
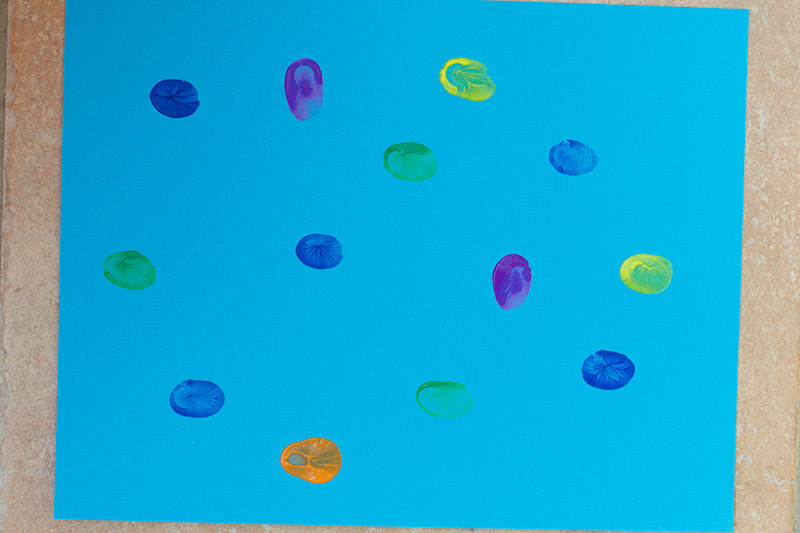
Toddlers will just want to swirl and mix the paint – let them get creative! LP had a great time dotting and swirling the colours.
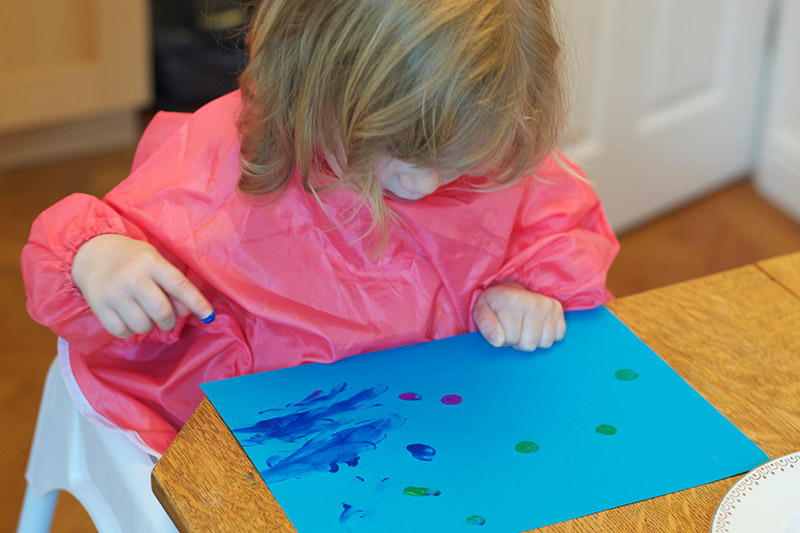
Use the sponge to add some sand at the bottom of the ocean. Or just use your fingers! Allow to dry for a few minutes.
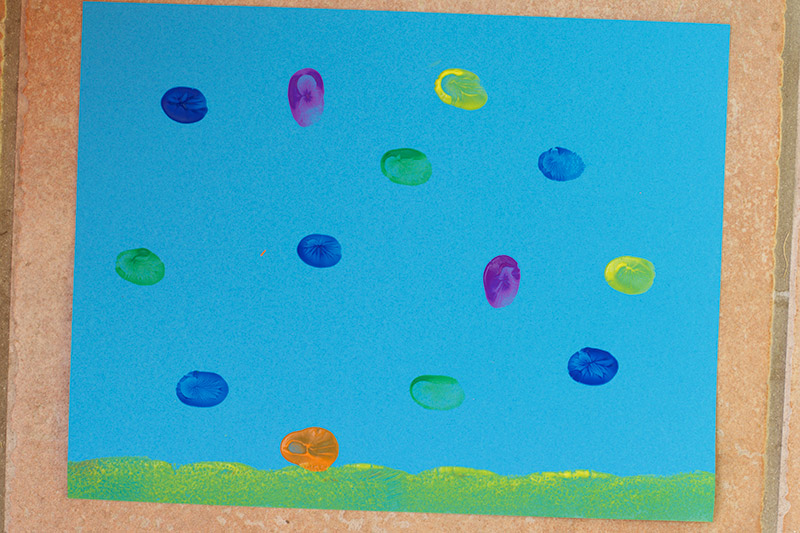
Get creative! Use the paint pens or felt pens to draw eyes, fins and features onto the coloured finger prints. If you use paint pens it doesn’t matter if the finger paint isn’t quite dry.
Make the finger paints into fish, turtles, crabs, jellyfish, octopus – whatever you imagine them to be!
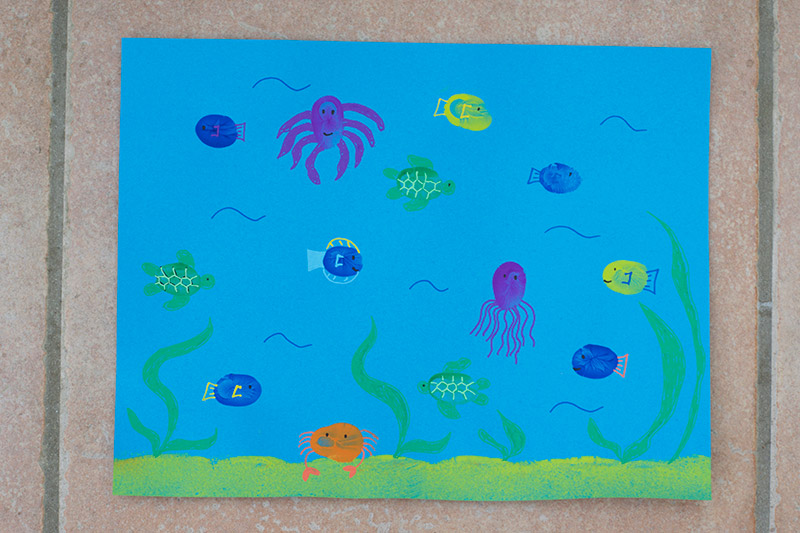
With a little help, toddlers and preschoolers can turn their finger prints into sea creatures too. You can make it a joint project, or just let them do their own thing!
Add some seaweed and rocks. Use your paint pens, or add some collage with tissue, or paper and glue.
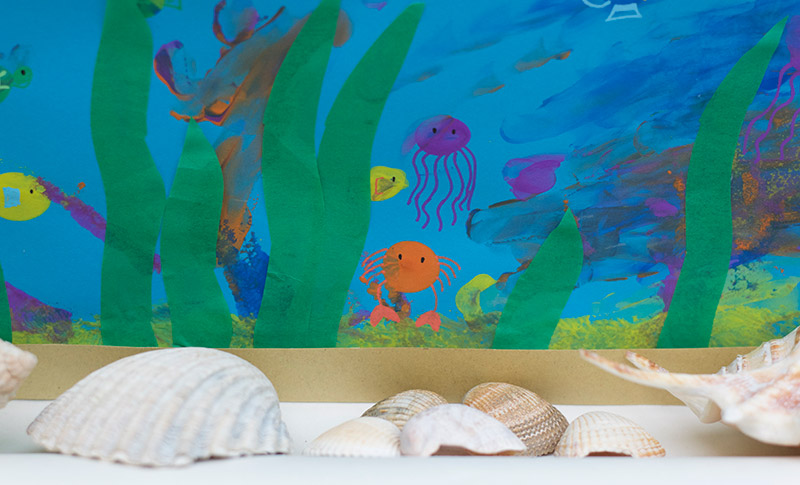
Allow to dry, while you get started on the aquarium window. You’ll need your envelope, pencil, ruler and scissors.
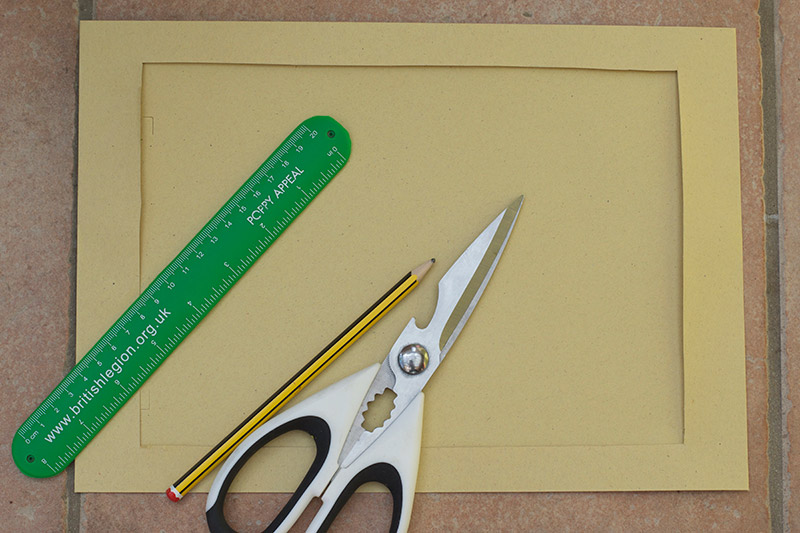
Draw a window on the envelope, approximately 2cm from the edge. You’ll need to adjust this depending on the size of your card and envelope. Place your picture on top of the envelope to check. Draw a window around 1cm smaller than your picture.
Cut around your lines to create a window. You’ll need to help little ones with this.
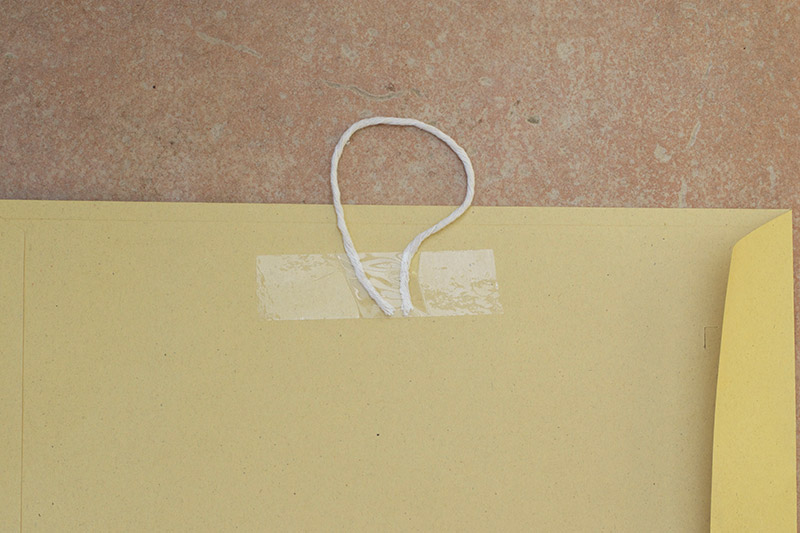
Cut a small piece of string. Tape onto the back of the envelope, at the top and in the middle.
Slide your picture into the envelope so that the sea creatures are facing out (make sure it’s dry first).
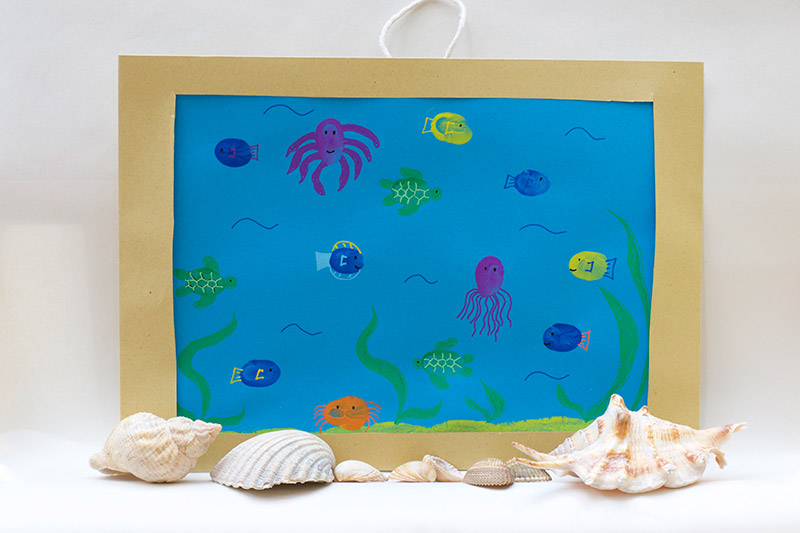
Ta da! You made a finger paint aquarium! Where will you hang your aquarium?
I’m excited to hang our aquariums next to the bathroom. I think they’d look lovely next to some shells from our shell collection, especially when the sun shines on them. Where will you put yours?

You could also make this into a gift. Write a message on the back and give it to someone special.
I’m looking forward to visiting a real aquarium again soon? Have you been to an aquarium recently?
You might also like my posts:
Make a Snail and the Whale Ocean Tray
Ocean Themed Creative Play Ideas
Like this post? Pin me for later!





This is a wonderful creation. It sounds like you had a dream job too. #bloggerpinparty
oops #makeitlinky
Oh this is so sweet! My little ones love finger painting, I know they’d love this! #MakeItLinky