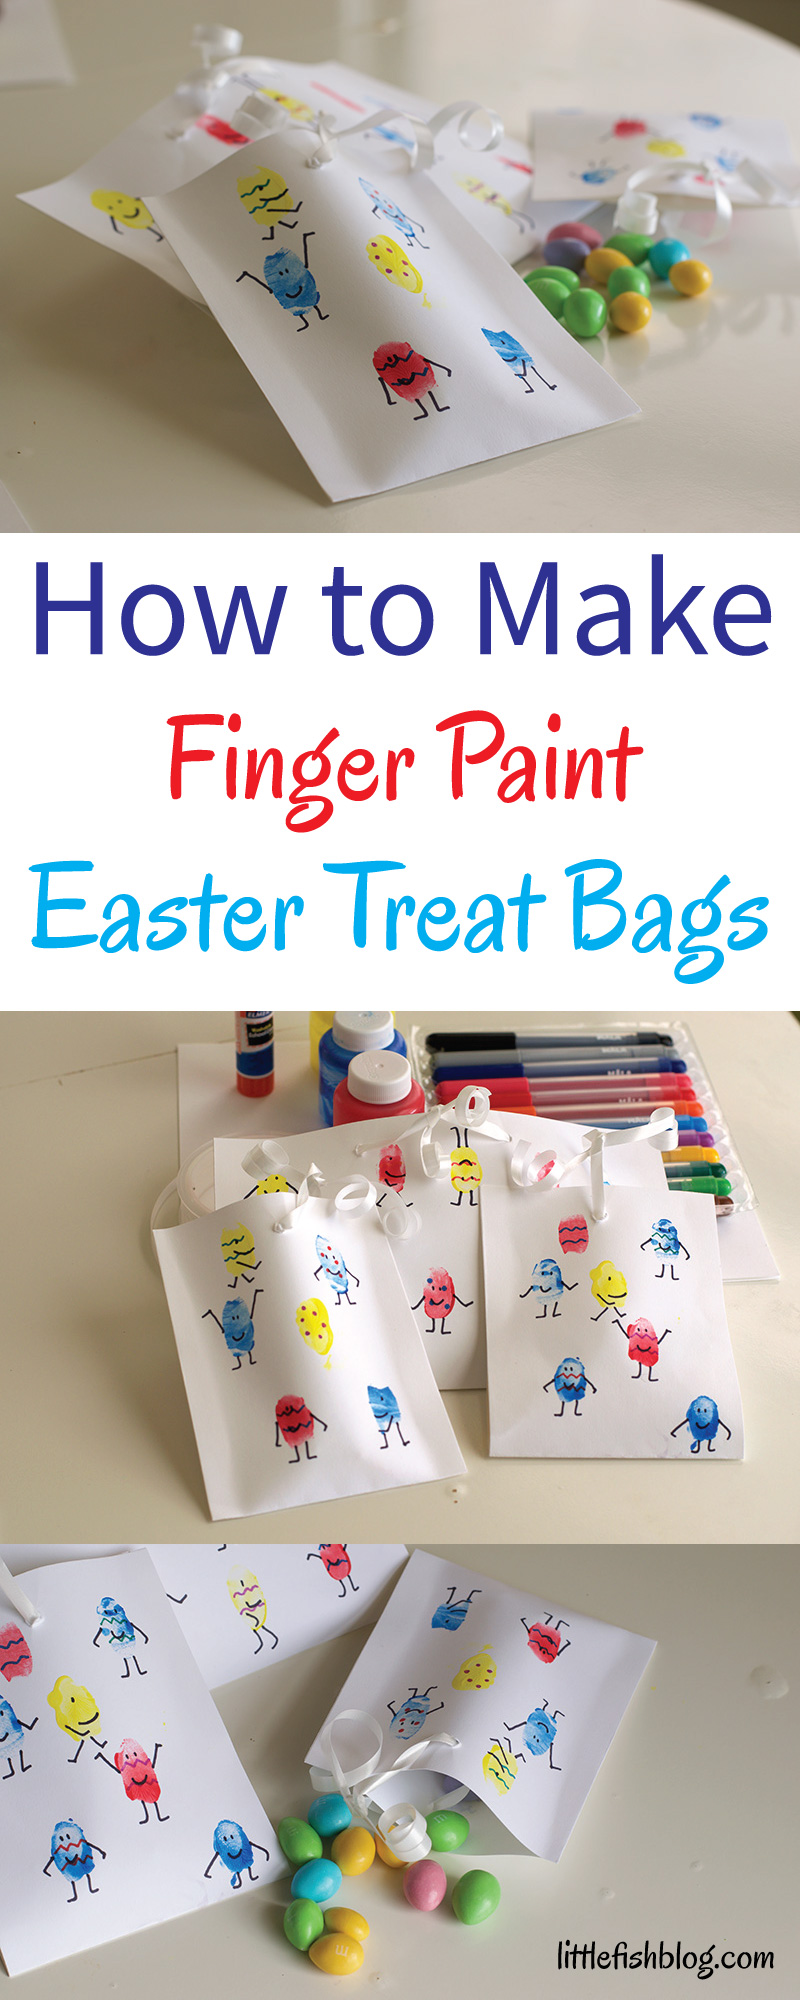
Here I’m sharing a simple and fun idea for making your own Easter treat bags, decorated with cute little finger paint egg people!
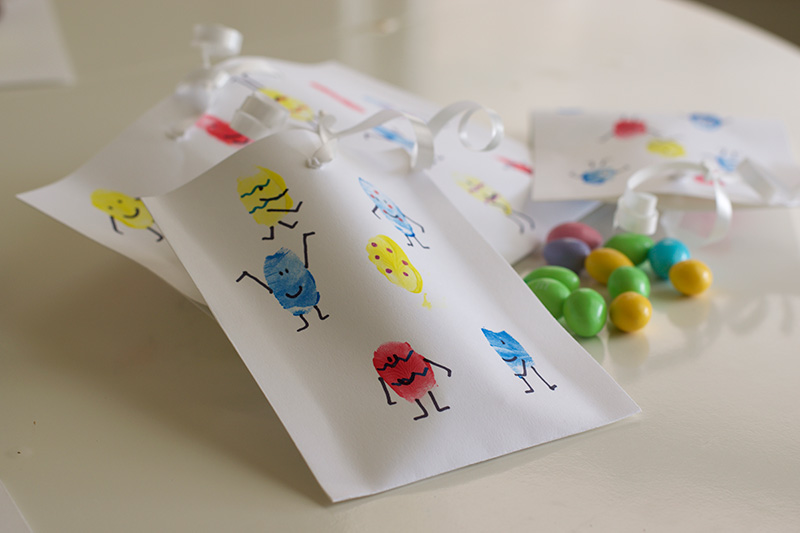
When I was a little girl I always remember around Easter time we used to do a ‘Fun Run’ in our local town. After the run, my mum would always present us with little paper bags filled with mini chocolate eggs! It was such a lovely treat and one of those little moments of childhood that I always remember. The other day I was thinking about it and thought it would be a fun idea to decorate my own paper bags.
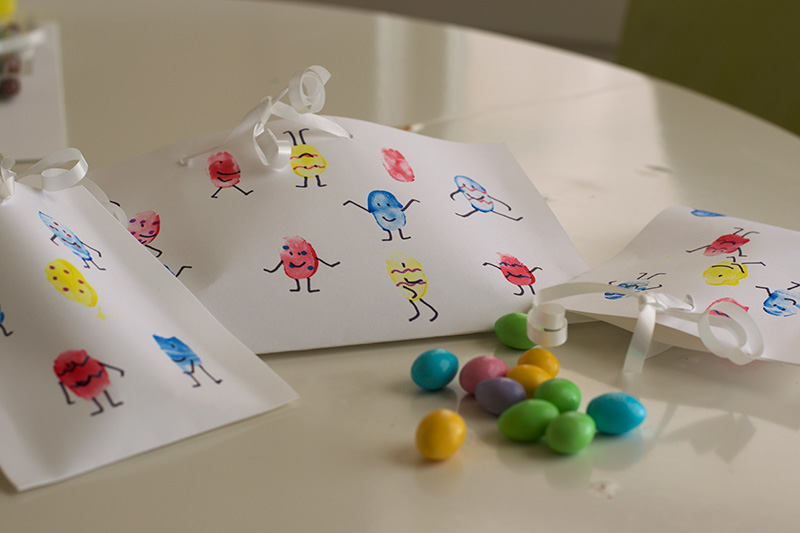
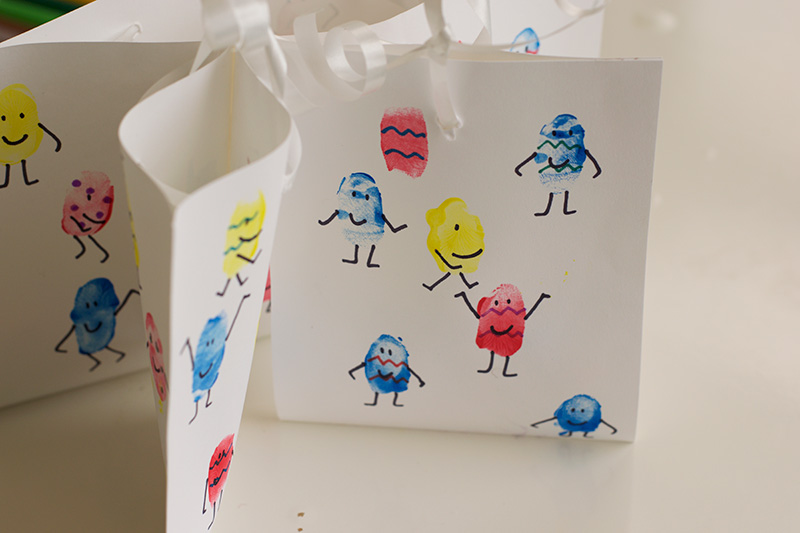
These Finger Paint Easter Treat Bags are so quick and simple to make, but super fun too! Little ones will love getting stuck in with the finger painting and older kids will enjoy drawing cute and quirky designs on their egg people. The best thing is, you can make these bags with just a few simple things that you probably have at home already. They make a fun project for over Easter time and then you can fill them with mini eggs! These cute bags are also great for putting little gifts in.
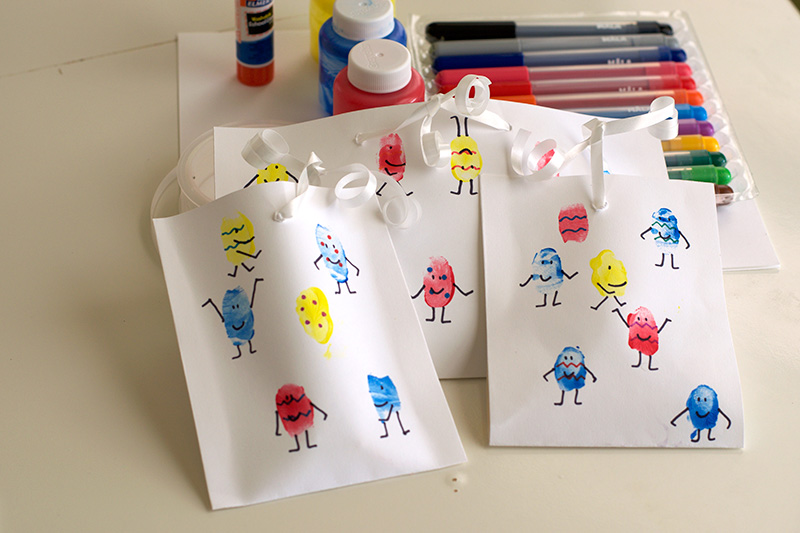
I made my own bags just using thin card and glue, but if you have some plain paper bags at home you could also use those and get straight on with the decorating. I used white card, but you can use any colour you fancy.
You’ll need:
- Thin card or paper (or ready made paper bags)
- Washable paint (a mixture of colours)
- Felt pens
- Glue
- Ribbon
- Scissors
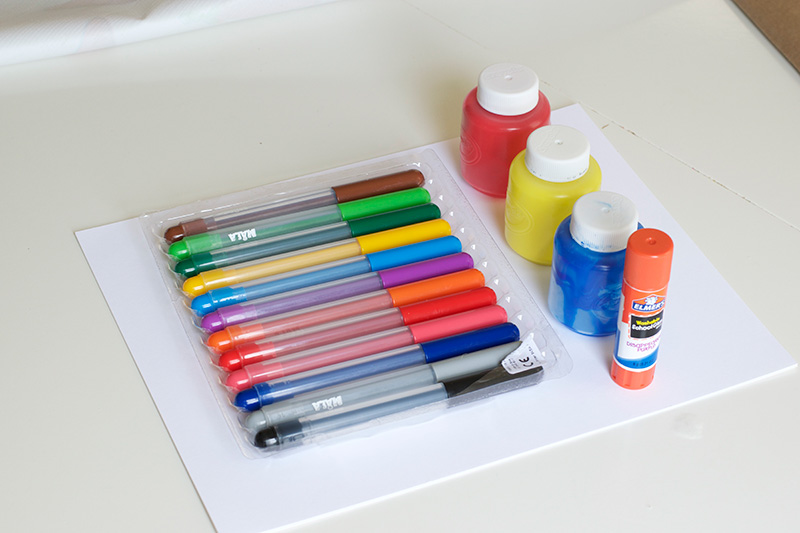
One piece of A4/US letter size card will make one large bag, or two small bags.
Fold your sheet of card in half, short end to short end. If you would like to make two small bags fold again, into quarters. Unfold and lay flat.
Pick a colour of paint and start finger painting! Make finger paint marks in a mixture of colours over your card. I found it helpful to dab off the excess paint first!
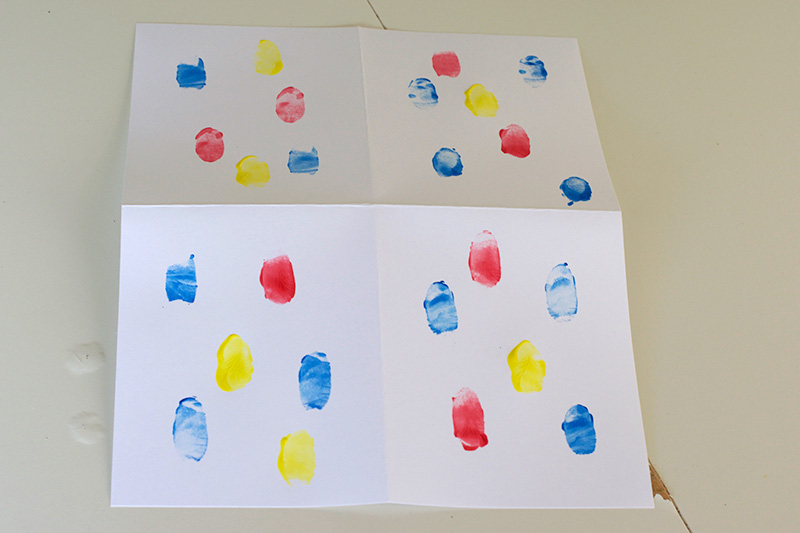
Let dry for a few minutes until the paint is completely dry.
Fold back in half. Use the felt pens to decorate your egg people! Go wild!
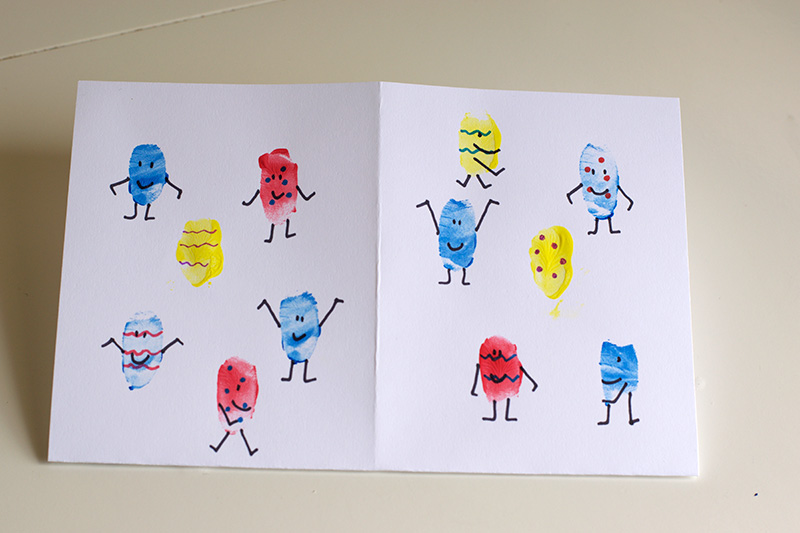
Repeat on the other side of the card.
If you are making two small bags, carefully cut along the centre fold.
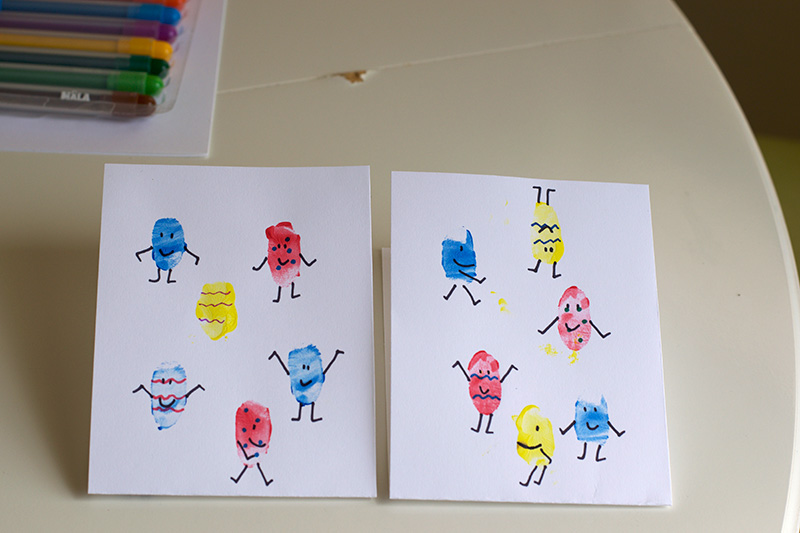
Using a glue stick to stick the sides of the bag together. Press firmly along the sides. If you prefer you can tape or staple.
Punch two holes in the top of the bag, or one in each of the small bags. Thread a strip of ribbon through and tie.
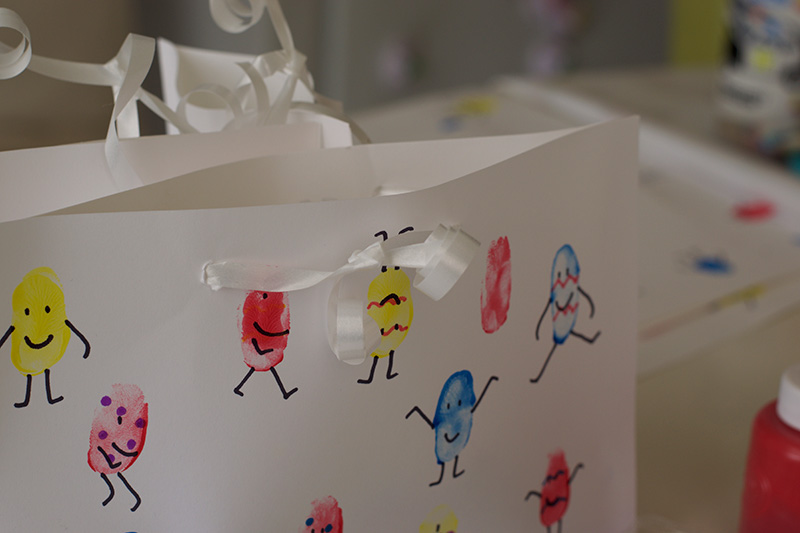
Fill your bag with little treats! Enjoy!
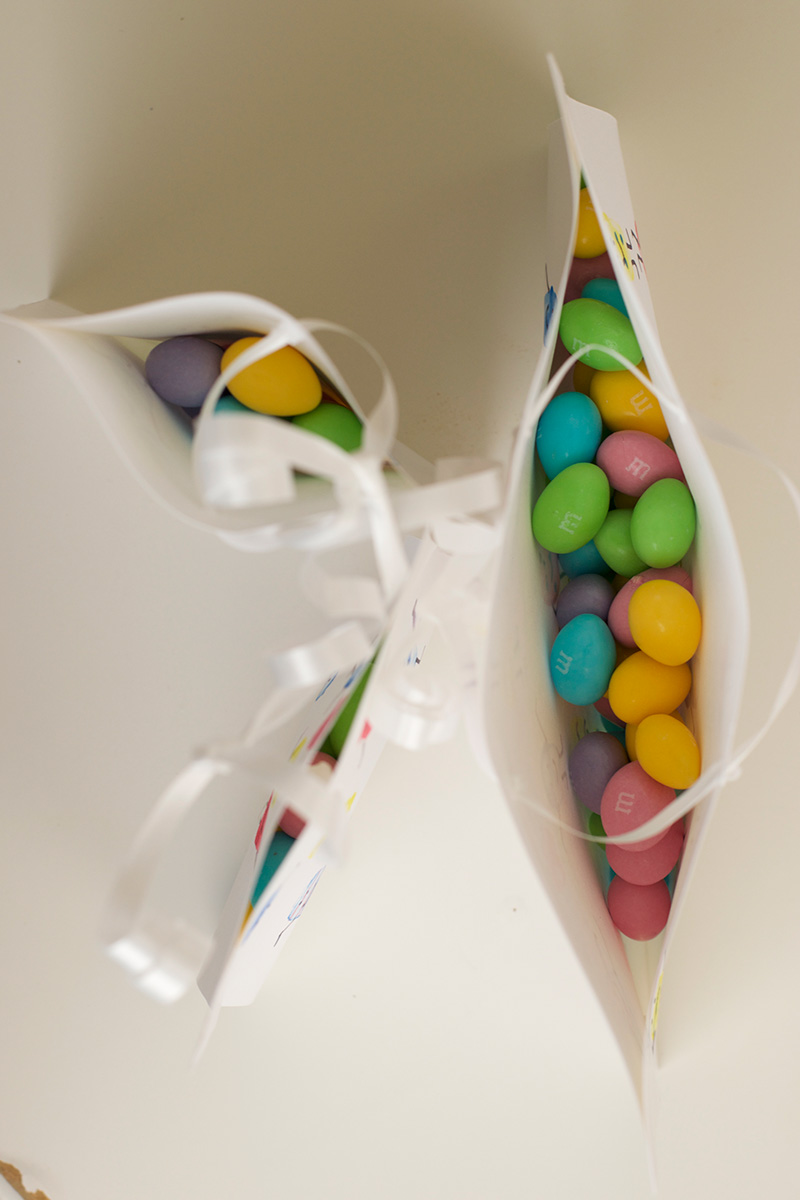
I’m looking forward to filling some of these little treat bags for our friends and continuing the tradition of giving little bags of eggs!
Like this post? Pin me!





What a lovely idea. These look easy to make too x
What a lovely idea! I’m always looking for quick and easy craft projects and this is perfect. The little egg designs are so cute and the bright colours look really fun! #MakeItLinky
These look fab my kids would really enjoy making these x
Ahhh these are so sweet and fun! Completely need to keep this in mind for when I have little ones! 🙂 x
These look lots of fun that I can imagine the craft could well extend beyond Easter bags but all seasons. #MakeItMonthly
I love the story behind thee, they are such a lovely idea. #MakeItMonthly
What a lovely childhood memory. It’s always that little bit nicer to do something that means so much. These are so cute and a really nice idea. My girls would love to make and receive a bag filled with eggs. Thank you for joining us at #CraftyCorner
Aww I used to make bags like this when I was a child! You’ve decorated them so cutely as well! Will have to give these a go x #MakeItLinky
I really love this, what a simple idea and so effective! Thanks for joining us at #CraftyCorner
How cuuuuute! My little one is going to be having a birthday party soon & what a fun way to have everyone decorate their own goodie bags with little adorable “finger people”! I love your blog too! I’ll definitely be keeping tabs on other fun ideas!
Thanks so much honey! So glad that you like them. That’s such a fab idea to have the kids decorate their own goodie bags at the party – love it! x